2.18.3 Scaling
The ![]() button in Scale tab and Scale->Set… command from main menu or context menu invoke Scaling dialogue for setting scale parameters.
button in Scale tab and Scale->Set… command from main menu or context menu invoke Scaling dialogue for setting scale parameters.
We can choose between automatically adjusted and manually set scales. In the latter case, one introduces the upper and lower limit of the scale as well as the gridding. In the case of SWR & GD results, gridding may also be controlled by gridlines.gr3 file (see Rieke chapter for more information).
Alternatively, one can select one of the predefined scales from the list in the lower part of the Scaling dialogue. By default, QW-Simulator reads this list from its registers or internal program settings. The user can also Get another list of predefined scales from *.sc3 file. The current list of scales can also be Put to a *.sc3 file. New scales can be defined via Config… button, which opens Scale Configuration dialogue.
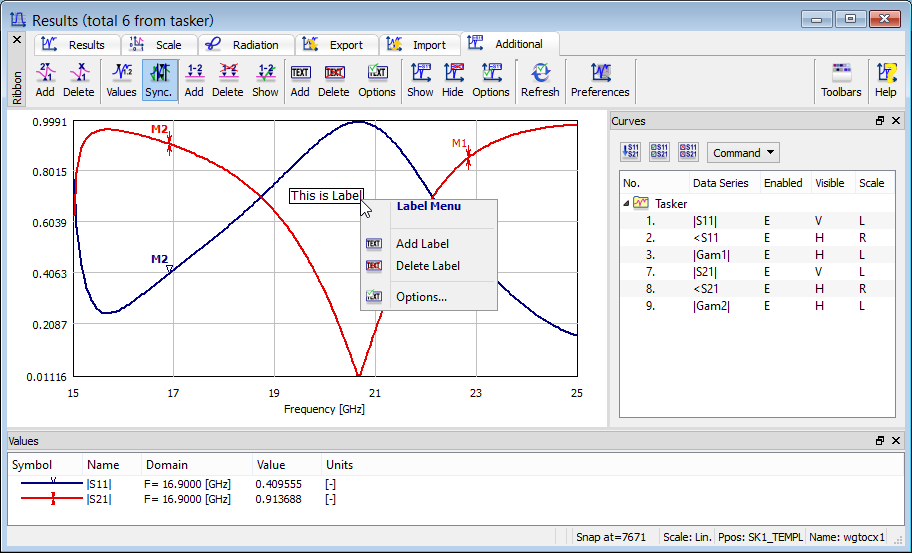
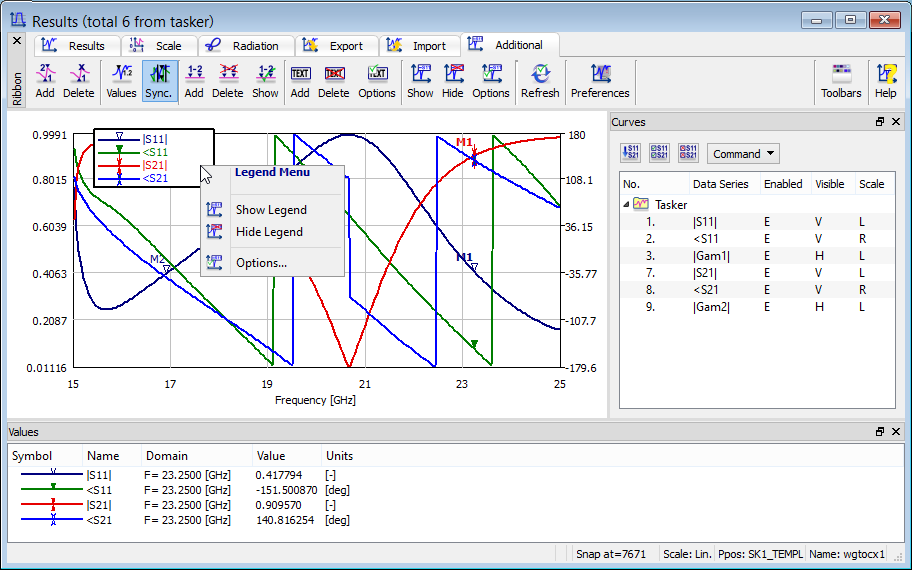
See Scale chapter for more information.
The Config… button in the Scaling dialogue opens the Scale Configuration dialogue.
There are two lists of scales: X scale settings on the left and Y scale settings on the right. From top of each list to the separator (--------------------) these are ‘linked’ scales. It means that if e.g. the X scale is selected, then its ‘linked’ Y scale will be selected automatically.
From the separator to the end of list the X and Y scale settings are independent (not ‘linked’) and can be selected separately. We can make a pair of independent X and Y scales ‘linked’ by selecting them and the Link button; similarly we can obtain two independent X and Y scales from a selected ‘linked’ scale by pressing the UnLink button.
The list of scale settings is divided into four columns:
· Scale – type of scale (Lin – linear scale, Quad – quadratic scale and dB - decibel scale)
· Min – minimum value
· Max – maximum value
· Grid – grid value
Operations on the selected scales:
· Up – move selected scale one position up
· Down – move selected scale one position down
· Remove – remove selected scale
· Change – change the selected scale with new values typed in the Min, Max and Grid edit lines.
To add a new scale, the user must introduce new values in the Min, Max and Grid edit lines and press Add. The new scale will be added at the end of the list.
After pressing Apply or OK button, the scales defined in the Scale Configuration dialogue will be transferred to the Scaling dialogue and ordered as follows:
1. First will be linked X and Y scales
2. Next will be X scale settings
3. Last will be Y scale settings.